Maintaining your VR headset is crucial for optimal performance and hygiene. A dirty headset can lead to discomfort, reduced performance, and potential hygiene issues. This guide will help you keep your VR headset clean and in top condition.
Step 1: Gather Your Cleaning Supplies
Before you start cleaning, gather the following essential supplies:
- Microfiber cloth: Ideal for cleaning delicate surfaces without scratching.
- Lens cleaner: Specially formulated to clean lenses without leaving residue.
- Antibacterial wipes: Effective for sanitizing surfaces.
- Compressed air: Helps to blow away dust from hard-to-reach areas.
- Mild soap and water: Useful for cleaning face cushions and straps.
Using recommended products from your headset manufacturer ensures safety and effectiveness.
Step 2: Preparing Your Headset for Cleaning
To safely clean your VR headset, follow these preparation steps:
- Power down and unplug your VR headset to avoid any electrical issues.
- Remove detachable parts such as face cushions, straps, and lenses to make cleaning easier and more thorough.
Step 3: How to Clean Your VR Headset Components
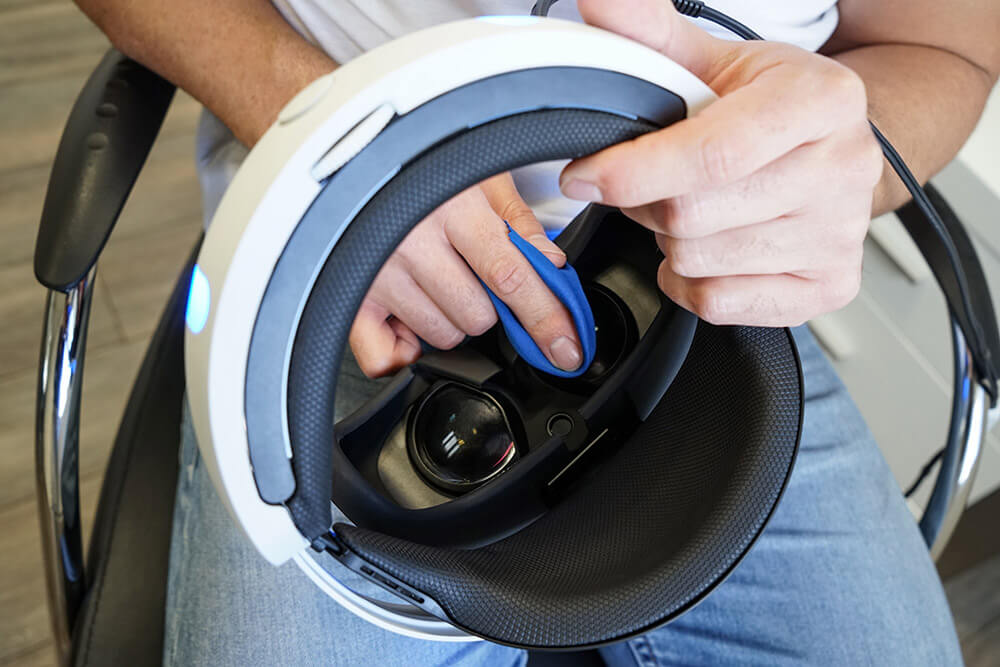
Cleaning the Lenses
- The lenses are a crucial part of the VR experience, and any scratches can affect visual quality.
- Use a microfiber cloth and lens cleaner. Apply the cleaner to the cloth, not directly to the lenses. Gently wipe the lenses in a circular motion to avoid streaks and scratches.
Cleaning the Headset’s Exterior
- The exterior can accumulate dust and grime. Use antibacterial wipes or a LIGHTLY damp cloth to wipe down the exterior.
- For hard-to-reach areas, use compressed air to blow away dust. Pay special attention to vents and ports, ensuring they are free of debris.
Cleaning the Face Cushion and Straps
- Face cushions and straps can absorb sweat and oils from your skin. If they are machine-washable, follow the manufacturer’s instructions for washing.
- For non-machine-washable parts, use a mild soap and water solution. Wipe them down with a damp cloth, then let them air dry completely before reattaching.
Step 4: Cleaning Your VR Controllers
Keeping your VR controllers clean is essential for hygiene and performance. Here’s how to do it:
Exterior Cleaning
- Use antibacterial wipes or a damp cloth to clean the surface of the controllers.
- Pay special attention to buttons, joysticks, and other controls. Use a cotton swab dipped in a small amount of alcohol to clean around these areas without causing damage.
Battery Compartment Maintenance
- Open the battery compartment and remove the batteries. Check for any dirt or corrosion.
- Clean the battery contacts with a cotton swab dipped in alcohol if needed. Ensure the compartment is dry before replacing the batteries.
Section 5: Maintaining Hygiene Between Uses
Regular maintenance can prolong the life of your VR headset and keep it hygienic:
- Perform quick cleanings after each use, especially if multiple people are using the headset.
- Consider using protective covers for the face cushions and lenses to reduce direct contact with skin.
Step 6: Storing Your VR Headset and Controllers Properly
Proper storage helps prevent dust buildup and physical damage:
- Store your headset and controllers in a clean, dust-free environment. Use a storage case or cover to protect them.
- Avoid placing your headset in direct sunlight or in areas with extreme temperatures.
Regular cleaning and maintenance of your VR headset and controllers are crucial for an optimal and hygienic VR experience. Develop a routine to keep your equipment in top condition, ensuring both performance and comfort.
Additional Tips
- If you encounter issues like foggy lenses or persistent dirt, refer to your manufacturer’s troubleshooting guides.
- Always handle your VR equipment with care, especially when cleaning sensitive parts like lenses.
- By following these steps, you can ensure that your VR headset and controllers remain clean, functional, and ready for your next virtual adventure.
For more information or help with cleaning your VR system, please contact us.

